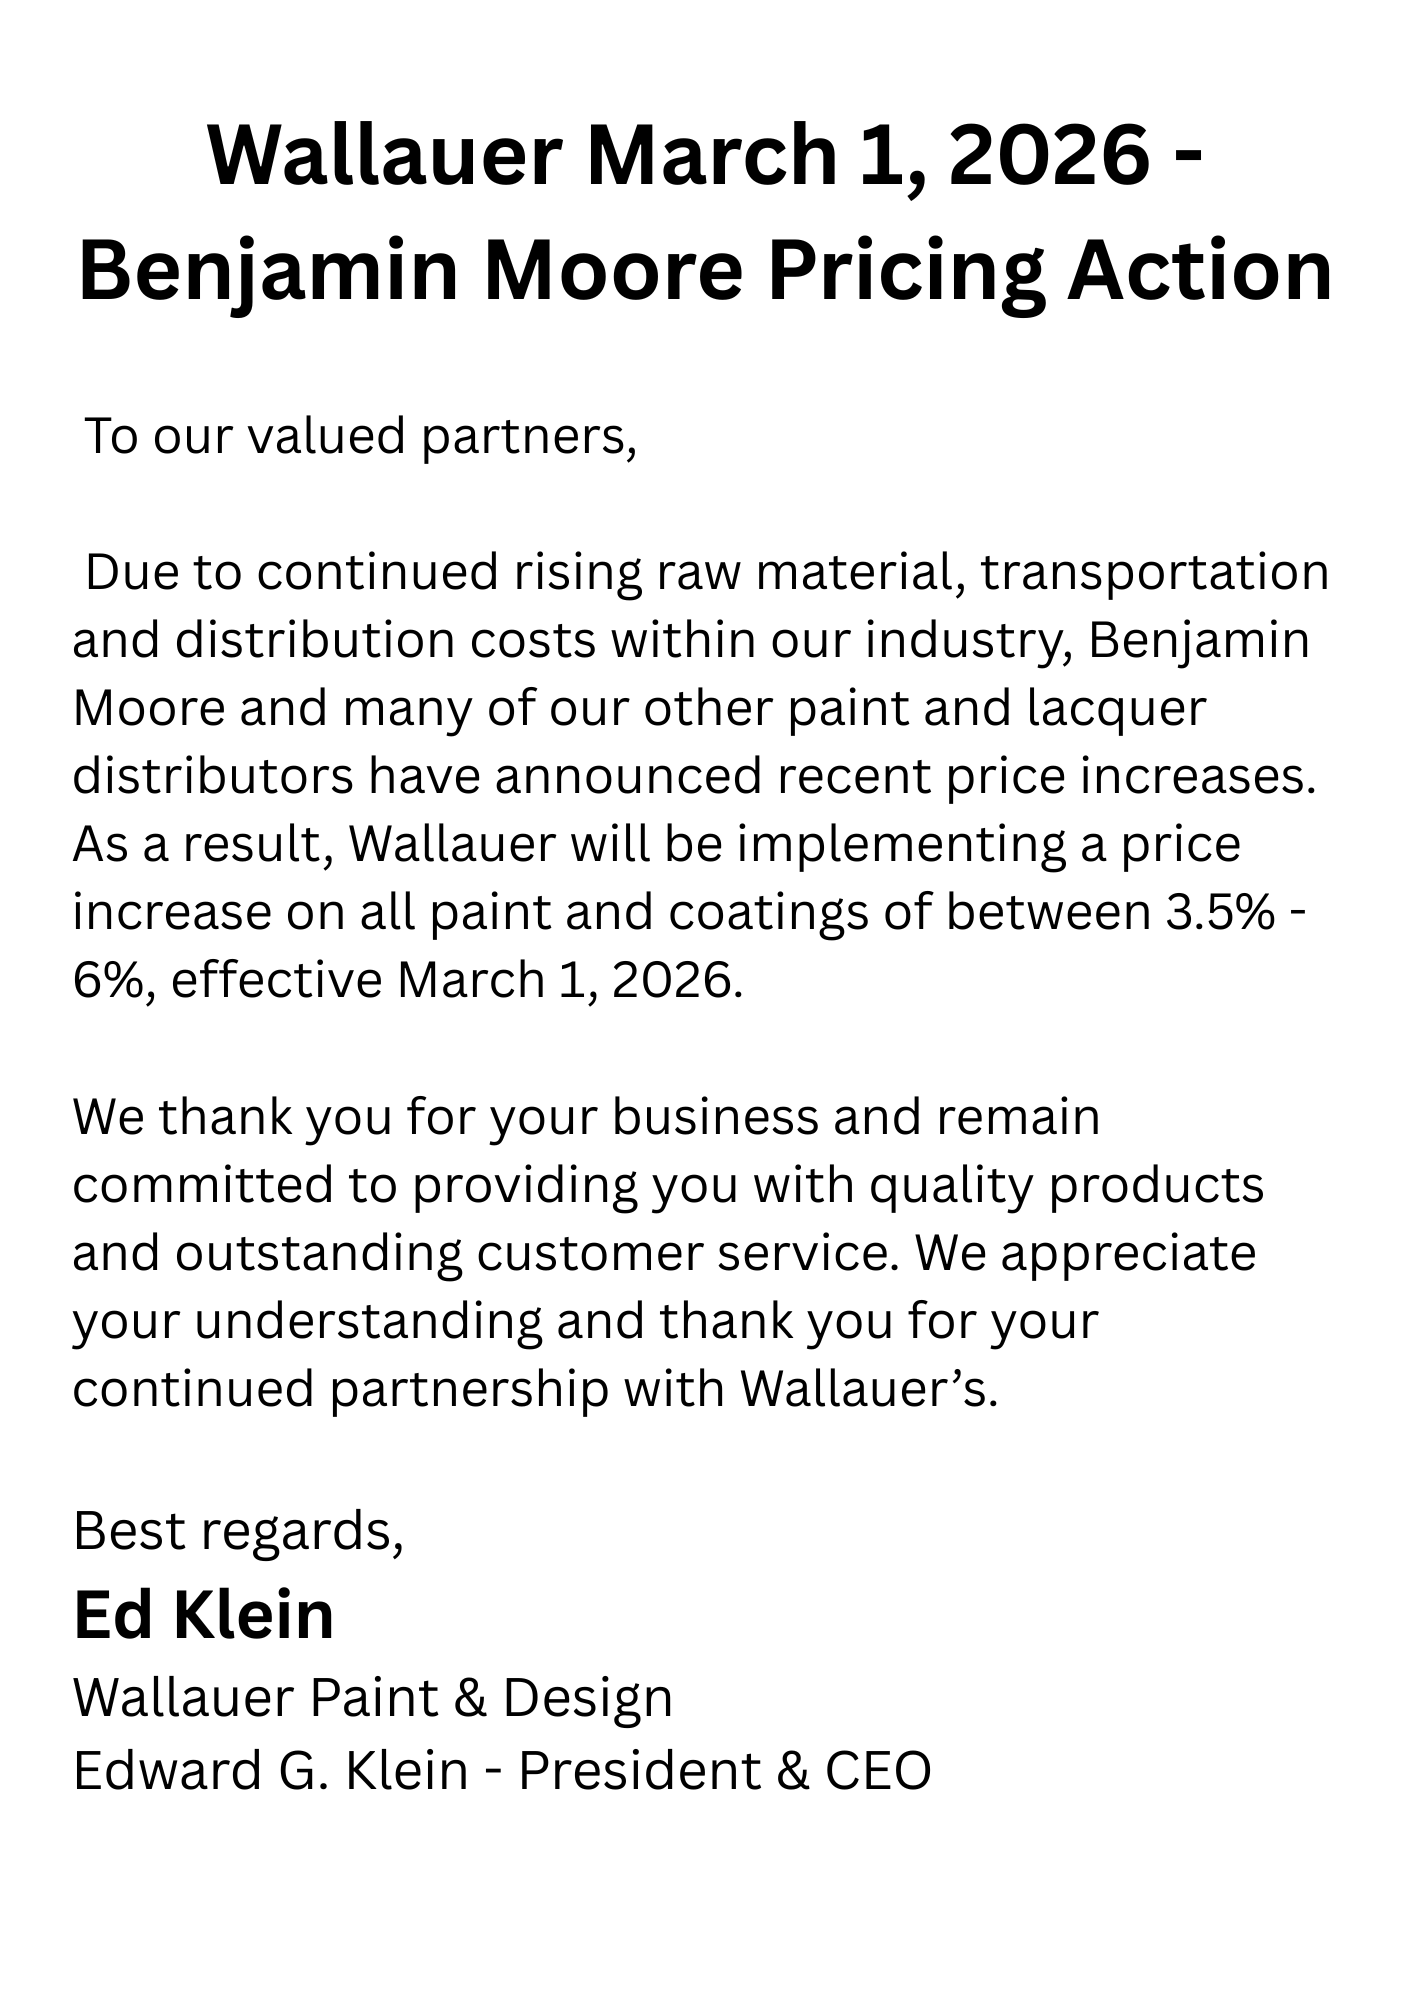
 Interior Paints
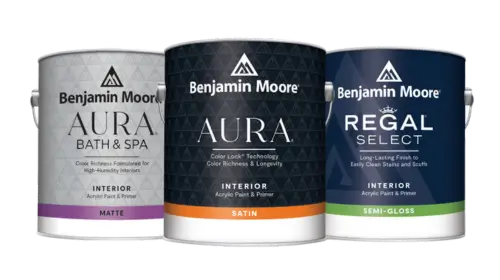
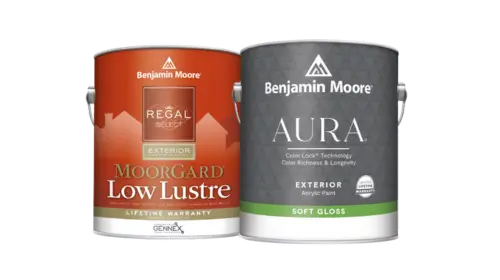 Exterior Paints
 Primers
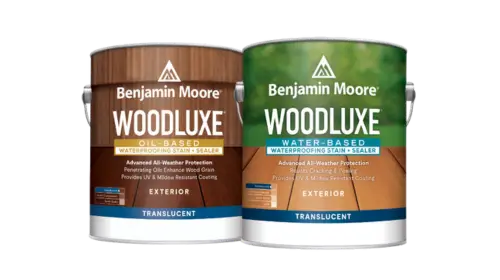 Stains & Clears
 Paint Brushes
Let’s rock—and roll! Know how to use a roller to make your painting project go smoothly.
By Diane Franklin
Everyone can wield a roller, right? Not necessarily! There are some tips you should follow to roll on paint that will save strokes, get better coverage and have your walls looking like a pro painted them.
Pick the Right Roller
When you go to the paint store, you’ll notice there are many types of rollers—different nap sizes, different textures, different lengths and different quality levels. It’s always a good idea to get the best quality roller possible, as it will make the paint job go quicker, with less spatter, fewer dips and less shedding of inexpensive fibers on the wall. The rollers last longer, too, holding up better to soap and water cleanup.
In most cases, you’ll use a 9-inch roller to accomplish your painting project; but if the project is particularly large, you can use a 14-inch or 18-inch roller to make the job go more quickly. Another option is the “mini-roller,” which works well in tight spaces or small surfaces like doors, cabinets or furniture.
Choose the right nap length for your project. Remember this general rule of thumb: Smaller nap sizes correspond to smoother surfaces. For instance, 1/8- or 1/4-inch naps will produce the smoothest finish, making them appropriate for use on plaster, wood, metal and new drywall. Medium naps (3/8-inch or 1/2-inch) work well on already painted drywall or lightly textured surfaces. Use thick naps (3/4-inch) for textured surfaces such as stucco, brick or concrete.
Also, make sure you know the type of paint you’re using because that will determine the most appropriate roller material. Rollers made of polyester and nylon work best with latex paint, while natural fiber rollers like mohair and lamb’s wool are better suited for oil-based paint. Microfiber rollers are becoming increasingly popular, and they work especially very well on light- to medium-textured surfaces. Foam rollers are popular for use with high-gloss paints and varnishes.
How to Roll
Rolling isn’t hard, but it’s important to avoid rookie mistakes. Start by mixing the paint well with a paint stir stick before pouring the paint into the roller tray. Leave the paint grid accessible so that you can run the roller along the grid.
Make sure your roller cover is secured firmly on the roller frame to avoid “skips” or slippage. Put the roller about halfway into the paint, then run it across the grid so that it is well saturated but won’t drip as you bring it up to the wall.
Move your roller across the wall in a zig-zag or “W” shape, and then fill in the gaps. Use light, even pressure when applying the paint. Fill in one area of the wall, from top to bottom, working in 2- or 3-foot sections. Use a ladder or extension pole to reach high portions of the wall. Work carefully so as not to bump your roller against the ceiling. Use painter’s tape to mask off the ceiling and baseboard areas to avoid some potential paint smudges if you get too close to the top or bottom of the wall.
Cleaning Your Paint Roller
Clean your paint roller promptly after painting to prevent the paint from drying. Use the roller cover sleeve from the roller frame. For water-based paints, wash with soap and warm water and rinse until clean.
For oil-based paints, varnishes or lacquers, be careful to select the proper cleaning solution according to manufacturer’s instructions. The most common types of solutions used include mineral spirits or paint thinners. Using proper skin and respiratory protection, pour the solvent into a container and dip the cover into the solvent. Repeat the process, using a clean container and new solvent until the cover is clean. Following manufacturer’s instructions for proper disposal and storage of the solvent.