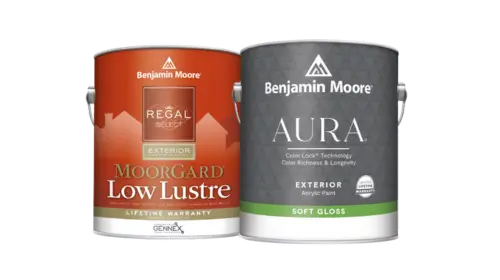
How to Prep Walls for Painting
When tackling a painting project, some people do not take prepreation into consideration. If you are painting a room yourself, follow our step-by-step guidelines how to prepare walls before you paint.
Why do you need to prep walls?
Prepping your walls is important. A clean, smooth surface ensures your paint to go on smooth and stick better. An old sticker could leave residue behind, and picture hangers can leave small holes. Sometimes grease can stain the walls if you are painting a kitchen. Even harder to remove is nicotine stains. Although it could be a tedious task, it’s always good to start with a clean slate.
What do professionals do to prep walls?
In all transparency, not all professional paint contractors wash and prep walls. Washing cuts into your time, and some painters do not consider it their job to “clean.” You may be better off hiring a cleaning company before the painter comes in. A painter does however, want their work to look flawless. He or she may sandpaper down rough areas, and take care of anything that will inerfere with the finished product.
Steps for prepping your walls.
- Washing the walls. Most walls can be washed using a sponge and water. If there are difficult stains to remove add a grease-remover or soap to the water. Do NOT soak your wall. You can do more damage than good, and will eventually have to replace the sheetrock. If there is any mildew present, make sure to clean it with diluted bleach. Don’t forget to dust and vacuume mouldings. You do not want to mix debris in with your paint.
- Sand your surface. You can use a light grit paper or a sanding block to smooth rough areas. If you have holes, fill them in with joint compound, and sand when dry. If your old paint was cracking or flaking, remove it with a scraper, and sand as needed.
- Tape off areas. Painter’s tape is not always used, as applying it can also be time-consuming. If do not have a steady hand, it is suggested to tape off the areas that should not be painted, or will be painted a different color. Window sills, moulding and along the ceiling are common areas that are taped off. There are different varieties of tape available to match the surface you are painting. If you have a steady hand, you can “cut” paint along the edges with an angled brush.
- Prime your walls. Many paints say they contain primer. This DOES NOT mean you should skip priming your walls. Primer ensures better coverage and avoids the paint color from being absorbed by the wall. We like Benjamin Moore’s Fresh Start line of interior primers.
- Paint your walls! After your primer is dry, paint your walls with your preferred color. We suggest two coats for a solid, rich finish. Then you can remove your painter’s tape and arrange your room!
Is there a correct order to paint a room?
Yes, there is a suggested order. Best painting practices start with the ceiling. You’re painting the hardest part of the room first! Once the ceiling is dry you paint the walls. After the walls, the skirting boards, or moulding. After that, paint the window and door frames, and finally paint the doors.
All the items mentioned in this article are available at your local Wallauer. We have 15 convenient locations in and around Westchester, New York. Feel free to ask an associate for help with your project!

 Interior Paints
 Exterior Paints
 Primers
 Stains & Clears
 Paint Brushes
 Paint Roller
 Paint Trays & Liners
