 Interior Paints
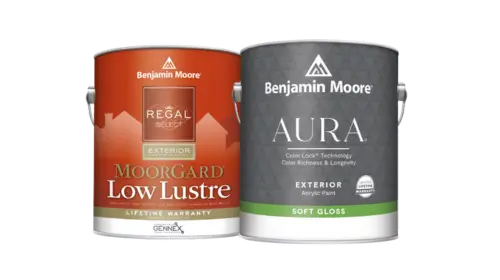 Exterior Paints
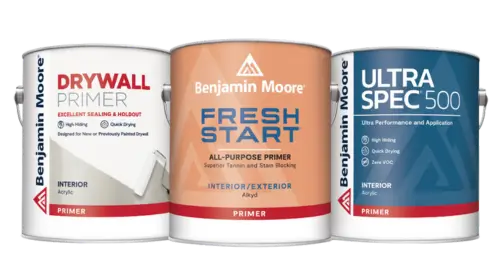 Primers
 Stains & Clears
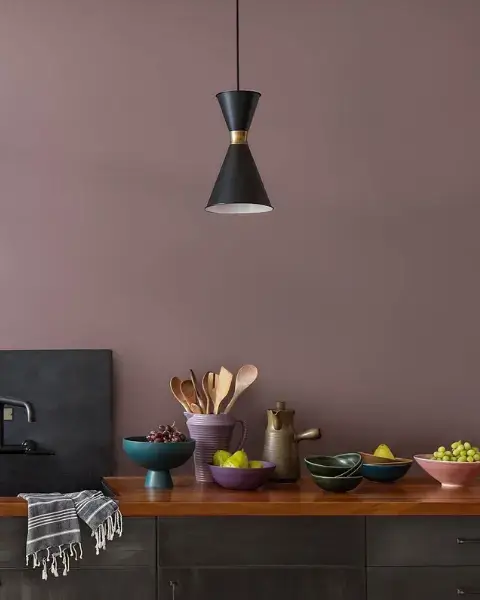
 Paint Brushes
 Paint Roller
 Paint Trays & Liners
You can use an HVLP paint sprayer to get a job done fast—but make sure you educate yourself on how to use it.
By Diane Franklin
HVLP paint sprayers are a great way to get a job done quickly and efficiently while achieving a fine finish with greater application accuracy and less overspray. The acronym stands for “high-volume, less-pressure,” and in contrast to an airless sprayer, these sprayers use air pumped from an air compressor or turbine to atomize the paint. Airless units are great for big jobs on flat surfaces, but HVLP is the perfect application method for painting cabinets, door, trim and furniture where a smooth appearance is desired.
HVLP sprayers are relatively easy to use, providing a high degree of control to the end user. If you’ve never used an HVLP sprayer before, educate yourself first about the various parts of the sprayer and the steps for applying a finish.
Below are some general instructions, but be sure to read the product manual that came with your particular HVLP sprayer to ensure that you follow the best practices for its use and maintenance.
- Know your sprayer. HVLP sprayers consist of three basic parts—the spray gun, the compressor (turbine) and the air hose. Also, familiarize yourself with all the cautions as outlined in your HVLP sprayer manual. Examples: Do not expose the sprayer to rain or wet conditions. Do not smoke when using the sprayer or use in an area where sparks or flames or present. Keep the compressor as far from the spraying area as possible. Only use in a well-ventilated area.
- While the HVLP sprayer delivers more material with less overspray, you still need to protect the area you are spraying. If spraying doors, cabinet fronts, drawers or pieces of furniture, you can place them inside a spray tent to catch the overspray.
- Assemble the sprayer according to manufacturer’s directions, securing the sprayer to the hose and connecting the unit to the power supply.
- Always ensure that you are using adequate eye and respiratory protection when using a sprayer.
- Prepare the coating material you are spraying according to manufacturer’s instructions. Strain the material using a paint strainer, then pour it into the canister, being careful not to overfill and securing the lid.
- Attach the spray canister to the spray gun. Check that the air nozzle is the right one for the paint application you are undertaking. Adjust the air pressure, fluid control, fan width and check valve, all in accordance with manufacturer’s instructions. Adjust the air cap tip for desired spray pattern.
- Before spraying the actual surface to be painted, test it out on a piece of plywood or cardboard. Spray about 6 to 8 inches from the surface, using a back-and-forth motion until you perfect your technique.
- Spray the surface to be painted. Hold the sprayer perpendicular to the surface being sprayed. Start at one edge and move to the opposite edge of what you are painting. Apply the paint in a consistent pattern, overlapping to ensure coverage.
- Follow the instructions in your manual to clean the sprayer and all parts completely after each use.