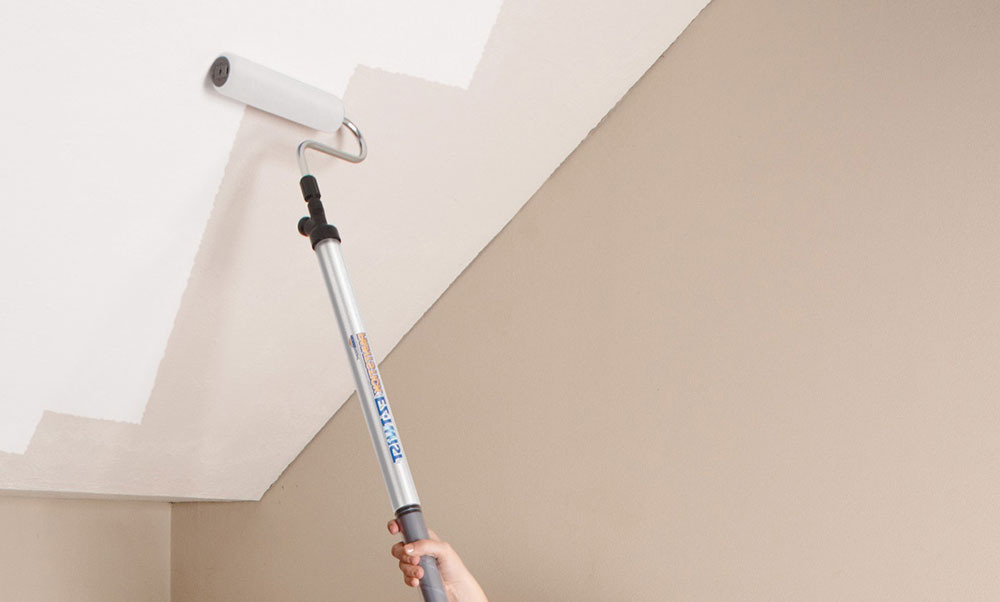
Here are some tips for painting a ceiling without neck pain.
By Diane Franklin
Painting a ceiling can be a real pain in the neck—pun intended! However, if you follow the right techniques, you can paint a ceiling quickly and efficiently while keeping that neck pain to a minimum. Here are the steps to follow.
Step-by-Step for Painting Your Ceiling
- Prep the room. Remove or cover furniture and flooring with drop cloths or masking products. If the ceiling has overhead fixtures, turn off the power for that room. Remove or cover the ceiling fixtures. If the room is too dim, set up floor lights to illuminate your work area—or paint in a room with plenty of natural light.
- Clean and prep the surface. Wipe away cobwebs. If the surface is dirty, clean with detergent and thoroughly dry. Fix any serious cracks or dents with spackling compound. If the ceiling is stained, use a stain-blocking primer before painting. Make sure it dries thoroughly.
- Mask the walls. Use painter’s tape to mask the walls. You can skip this step if you intend to paint the walls as part of the same project. Whenever painting a room, you should always paint the ceiling first.
- Use the right paint. A specialty ceiling paint is your best bet. Make sure you measure your ceiling and buy enough paint. The last thing you want to do is run out of paint in the middle of the job.
- Cut in with brush. Use a paint brush to cut into the corner of where the ceiling and wall meet. Two-inch angled paint brushes work well for this task.
- Paint with roller. Use a paint roller to paint larger areas of the ceiling. Begin immediately while the paint on the edges is still wet. Use a ladder or scaffolding to get close to the ceiling so that you don’t bend your head back too far (avoiding that neck pain!), or use an extension pole to paint from the floor. If painting from a ladder or scaffold, securely position your paint bucket or roller tray on the climbing equipment to reduce the number of trips you have to make back and forth to the floor.
- Keep a wet edge. This will prevent overlap marks that show once the ceiling dries. Roll forward and also back-roll to blend the paint. Bring the roller toward you, but don’t roll directly overhead.
- Work in sections. Don’t paint in a straight line, as it will likely cause overlap marks. Vary the direction of the roller to create a more seamless appearance. When starting a new section, start by cutting in with the brush at the corner and proceeding with the roller.
- Assess the appearance. Let dry and then study the surface to determine if you need a second coat. If so, follow the same steps described in #3 through #6.
- Remove painter’s tape. If painting the walls, wait for the paint to cure before using delicate painter’s tape to mask the ceiling before proceeding.
- Clean up. Clean your painter’s tools, pick up the drop cloths and put furniture and light fixtures back in place.
Other Considerations
High ceiling? Use a tall ladder or scaffolding to reach it. Use proper safety precautions as recommended by the climbing equipment manufacturer to prevent falls. Always take the time to move the scaffolding and ladder as needed. Don’t overextend your reach, either by stretching too high vertically or reaching too far to your right or your left. Don’t paint alone.
Painting a textured ceiling? Use a roller with a deeper nap to ensure that you don’t miss recessed areas and wind up with a splotchy job.
Protect yourself. Painting overhead can cause splatters in your hair, eyes, nose and mouth. To avoid these problems, it’s a good idea to wear a hat as well as safety glasses and a safety mask.
Get colorful! Most ceilings are white, but they don’t have to be. Ask your paint retailer to tint your ceiling paint to a color that complements or coordinates with your wall colors. Added bonus: As you paint over your white ceiling, it will be easier to tell what area still needs to be covered.

 Interior Paints
 Exterior Paints
 Primers
 Stains & Clears
 Paint Brushes
 Paint Roller
 Paint Trays & Liners
 Wallpaper
 Design Services
 Designer Fabrics