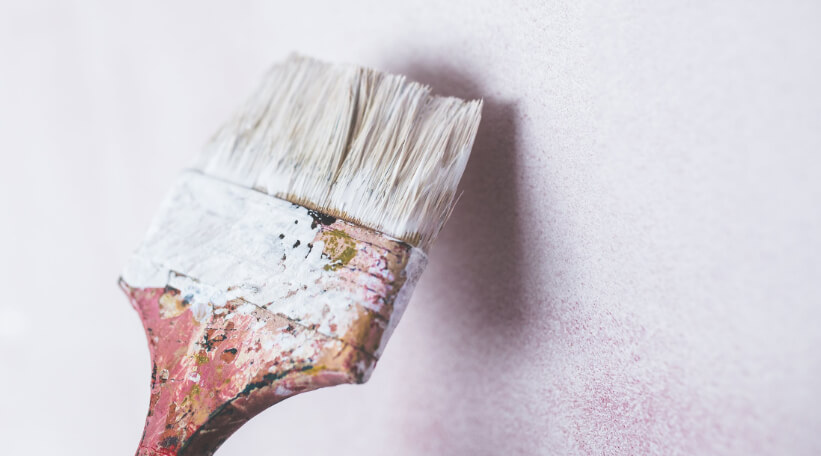
If your brushes and rollers weren’t cleaned properly the last time you painted, try these methods for rescuing them …
By Tammy Adamson-McMullen
As the weather warms up, many of us are heading outside to paint. As you gather up supplies, you may find paint-caked brushes and rollers that you intended to clean after another project but forgot. Or maybe you did clean them, but they’re a little “crackly” from paint particles left inside the bristles. Don’t despair—and don’t throw them out! There are ways to clean even the stiffest sundries to make them serviceable again.
Brushes
Below are methods for cleaning dried oil-based and water-based paints from your brushes. If your brush is lightly caked with paint, start with Step 1; if thickly caked, start with Step 3. The supplies in all methods include products available from your paint and decorating retailer and can be used again for future projects. Note: Be sure to use protective eyewear and chemical-resistant gloves when working with any type of solvent.
Dried Water-Based Paint
Supplies: Large empty food can; warm water and detergent; mineral spirits or lacquer cleaner (for tougher jobs); solvent brush cleaner, aluminum foil, two tight-grip food clips and another empty food can (for toughest jobs); stiff nylon-bristle brush; brush comb
- Place the brush into the container. Mix the hot water and detergent and pour in the solution, covering all of the bristles up to the metal ferrule. Work the detergent through the brush. Leave the brush to soak in the water for 20 minutes. For thicker dried paint, use mineral spirits or lacquer cleaner instead of the water/detergent solution.
- Repeat the step above, if needed, until most of the paint has dropped off and bristles are flexible. Then skip to Step 4.
- For really thick dried paint, use a solvent brush cleaner from the start. Be sure to choose a cleaner that works with the specific type of bristle in your brush—natural or synthetic—or is suitable for both. (Tip from Family Handyman.)
- First, attach food clips on each side of the brush handle where it meets the ferrule. These will sit on the lip of the can and will keep the brush suspended in the cleaner. (The bristles should not be resting on the bottom of the can.)
- With the brush suspended within the can, pour in the cleaner until it reaches the ferrule. Cover the top of the can with foil to contain the fumes.
- After 24 hours, check to see if most of the paint has dropped off and bristles are flexible. If not, soak the bristles for another 24 hours. Then pour fresh cleaner into a second can and swish the brush around inside. Continue to Step 4.
- Remove the brush from the container. Gently use the nylon-bristle brush to remove any remaining particles, following the flow of the bristles from the heel (next to the ferrule) downward. For good measure, also use the brush comb, following the same flow. Note: Don’t be tempted to use a wire brush, which can harm the bristles.
- Wash the brush in warm, soapy water and then rinse it until the water runs clear. Use the brush comb again to straighten the bristles. Hang the brush to dry.
Dried Oil-Based Paint
Supplies: Large empty food can; solvent brush cleaner, tin foil and food clip; mineral spirits; lacquer thinner; stiff nylon-bristle brush; brush comb
- Follow all of the procedures in Steps 3 from the previous section.
- Remove the brush from the container. Rinse it in mineral spirits and work the bristles with your gloved hands. Use the brush comb to remove any remaining paint particles.
- Spin the brush in a safe waste area. Rinse the brush again in mineral spirits and work out any remaining paint. Spin the brush a second time. (A mechanical brush spinner is best, but you can quickly rub the brush handle back and forth between your palms. Again, wear protection!) Repeat this step as needed.
- Use the brush comb to straighten the bristles. Hang the brush to dry.
Rollers
The steps below apply to both dried water-based and oil-based paint. For water-based paint, start with Step No. 1; for oil-based and tougher-to-remove water-based paint, start with Step No. 2. Some experts believe that cleaning a roller that’s crusty with oil-based paint isn’t worth the effort. We’ll let you decide …
Supplies: Hot water, detergent and a bucket; mineral spirits and a large pickle jar or paint tray; 5-in-1 tool or paint scraper
- Mix hot water and detergent in the bucket. Submerge the roller in the bucket and let it soak for at least 30 minutes until the paint softens. Skip to Step 3.
- For oil-based and thickly dried water-based paints, soak the roller in mineral spirits in a large pickle jar or paint tray. Fill the tray until the roller is half submerged and then turn the roller to treat the other side.
- Once the paint has softened, scrape the roller with a 5-in-1 tool or scraper to remove any paint.
- Wash the roller in warm, soapy water and then rinse it until the water runs clear.
- Shake out the excess water and hang the roller to try.

 Interior Paints
 Exterior Paints
 Primers
 Stains & Clears
 Paint Brushes
 Paint Roller
 Paint Trays & Liners