
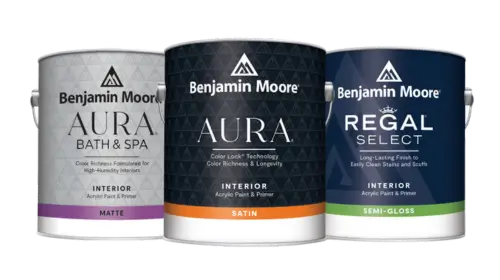
 Interior Paints
 Exterior Paints
 Primers
 Stains & Clears
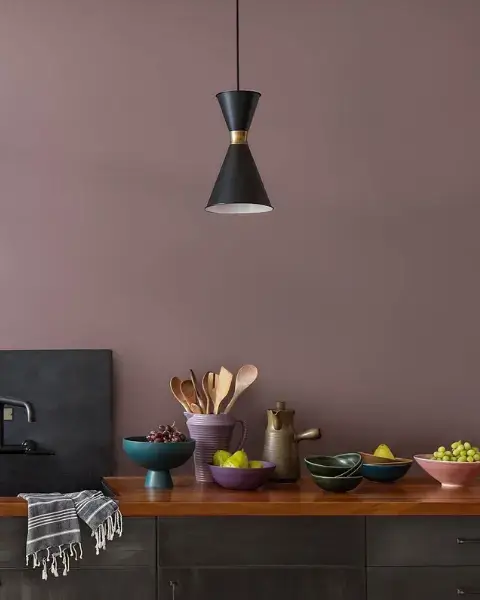
 Paint Brushes
 Paint Roller
 Paint Trays & Liners
Venetian plaster adds a touch of sophistication to your walls. It’s a highly polished look that provides the illusion of depth and texture to flat surfaces. Because the texture is illusionary rather than real, it makes it easier for homeowners to change it out when they want to go onto another look. But as beautiful as it looks, you may want to live with it for a long, long time!
The elegance of Venetian plaster is perfect for virtually every room in the house, but it is often used in powder rooms because of its moisture resistance and easy-to-clean features. Venetian plasters also look gorgeous in foyers, great rooms, kitchens and bedrooms. Depending upon the color, the finish can be soft and subtle or bold and dramatic. The look you create is entirely up to you.
You can purchase Venetian plaster and application supplies at your local paint store. The knowledgeable salespeople at the store will be able to advise you on how to achieve the finish. Below are some basic steps, but always make sure you follow the application instructions for the products you are actually using. It’s a good idea to try the product first on a sample board (or even a sheet of drywall). This will allow you to practice your technique and get a feel for the material before tackling the finish on an actual wall.
Supplies Needed:
Flat Primer or Base Coat
Venetian Plaster (tinted to your desired color)
Flexible Steel Trowel (or 4- to 6-inch Drywall Knife)
Paste Wax
Sandpaper (400-600 grit)
Paint Applicators as Needed (Paintbrush, Paint Roller, Roller Tray)
Masking Products
Gloves and Eye Protection (Recommended)
Instructions
- Clean and prep the walls. Lay down drop cloths and mask off surfaces that you do not wish to finish. Apply a flat primer or base coat. It’s a good idea to have the primer or base coat tinted in a color to match the color of your Venetian plaster (just in case it shows through).
- Apply the Venetian plaster to the wall using a trowel. Some prefer to apply the plaster to the wall with a damp paint roller and then spread it out with the trowel. Whatever method you use, take care not to apply the plaster too thickly.
- Use your trowel to smooth the plaster. Hold the trowel at a 15- to a 30-degree angle, using sweeping motions to create pleasing swirls or cross-hatch patterns. Vary your strokes and the angle at which you apply the plaster to create a subtle but pleasing pattern. Wipe the trowel regularly so that dried plaster does not build up on your tool. It’s not necessary to go back and cover spots you have missed since you will catch those during your second pass.
- Let the plaster dry according to the label instructions (usually 4-6 hours). Make a second pass over the surface, using your trowel to continue making a light, pleasing pattern on the surface. Hold the trowel at a steeper angle than your first pass, using overlapping long and short strokes. Pay attention to spots you missed the first time, making sure that you have covered the surface thoroughly between your first and second layers.
- Let the surface dry overnight. Burnish the surface by sanding the surface in a circular motion. After you finish, wipe the wall down with a damp rag to remove all residue. Use the side of your trowel to give the surface a polished look.
- Give your Venetian plaster more sheen by applying a paste wax with the trowel. Burnish with the side of the trowel until you achieve the polished look you desire.