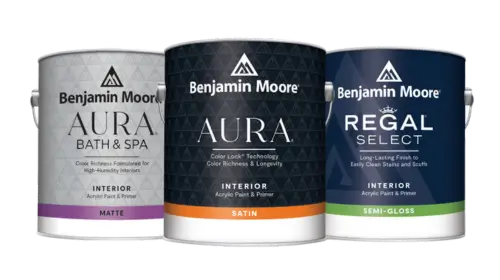
 Interior Paints
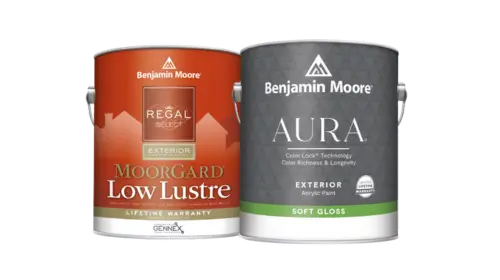 Exterior Paints
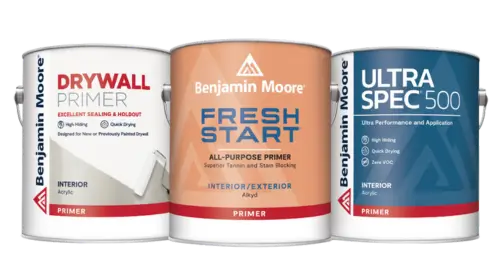 Primers
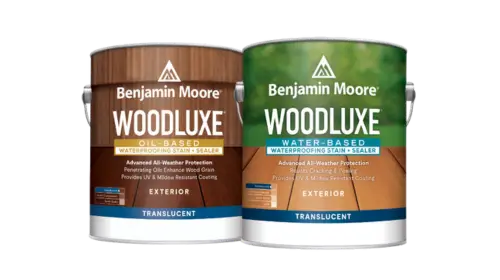 Stains & Clears
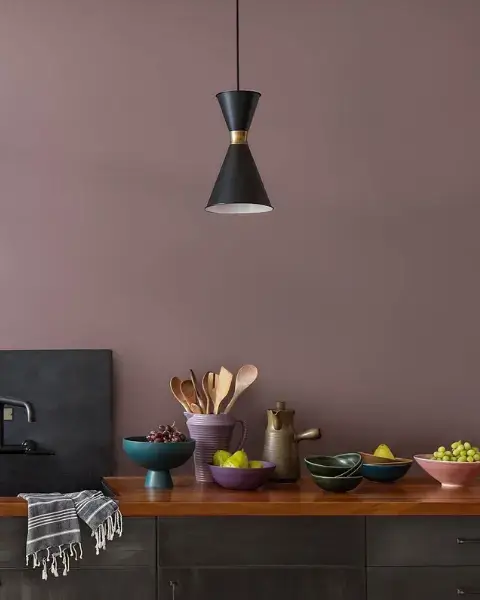
 Paint Brushes
 Paint Roller
 Paint Trays & Liners
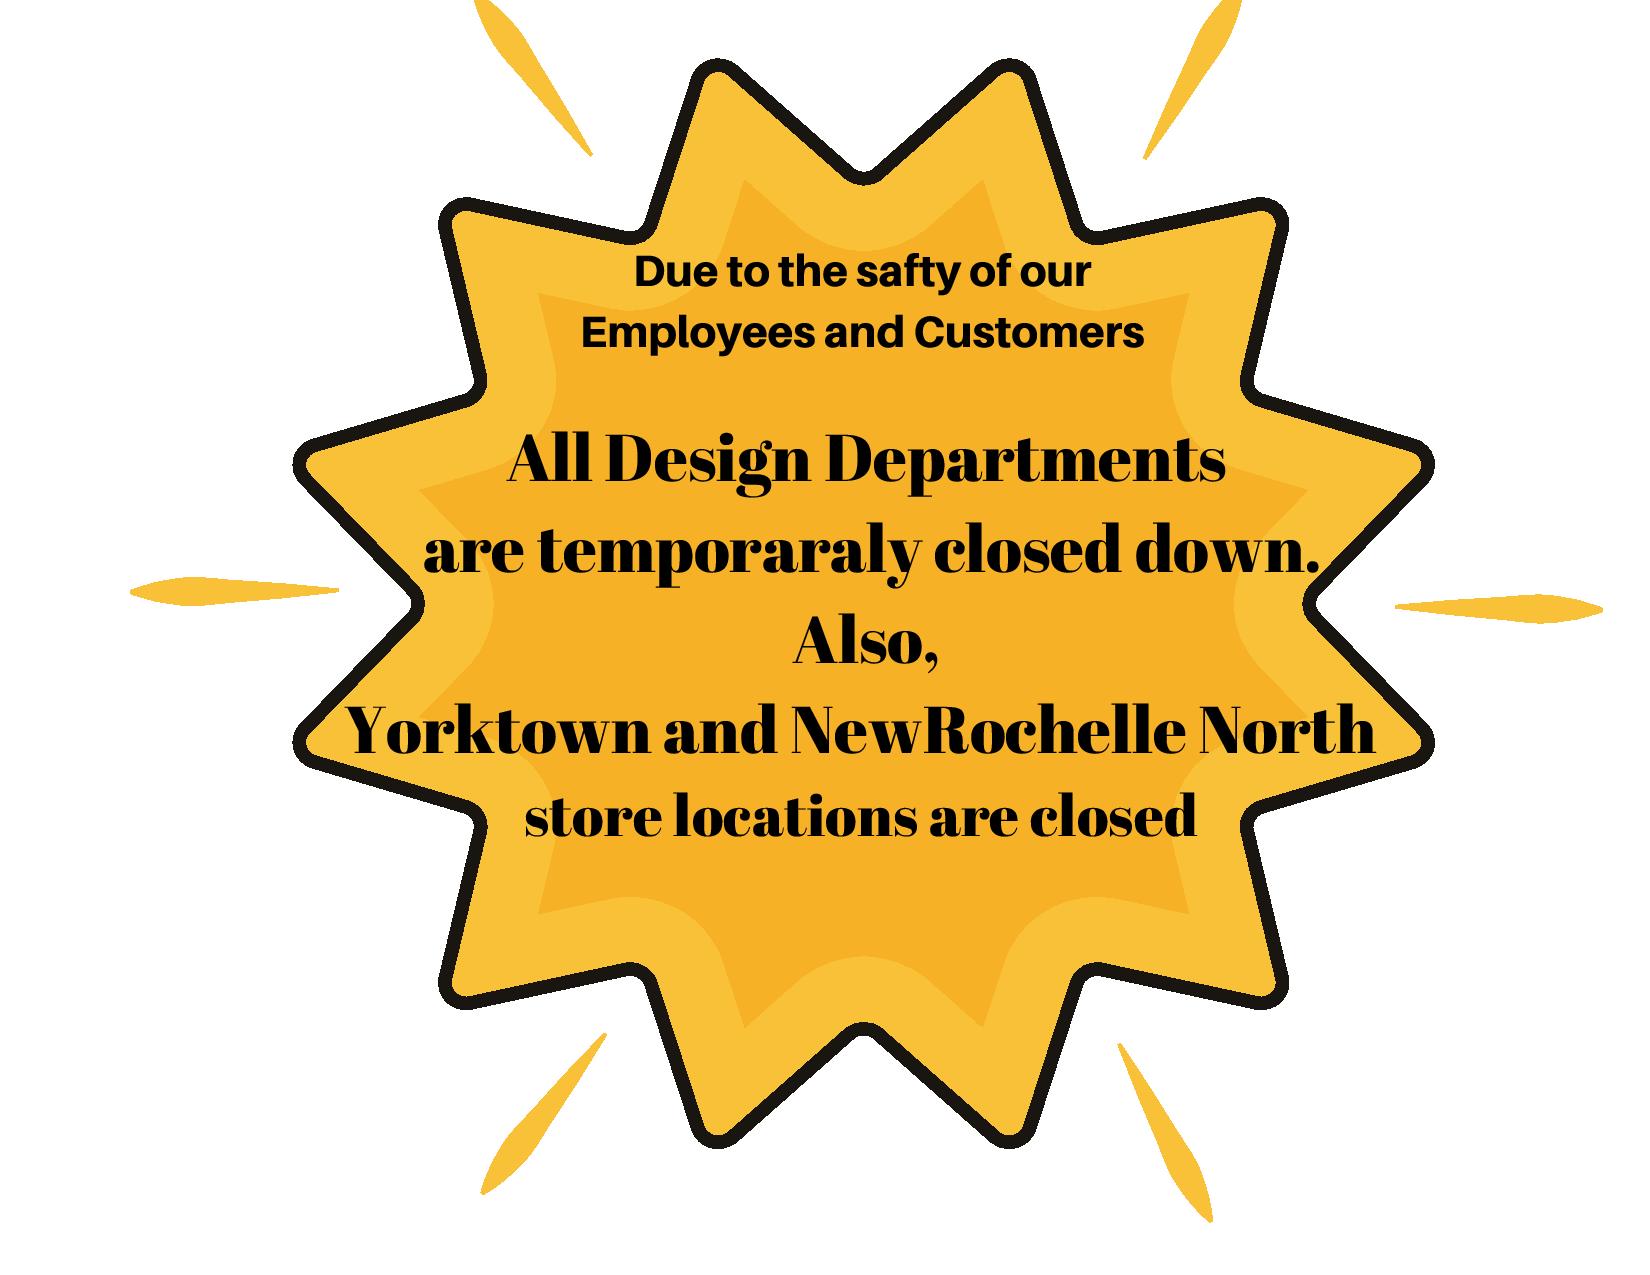
How to achieve the perfect crackle effect on walls, doors, furniture, accessories and more.
By Diane Franklin
A crackle finish gives many types of surfaces a desirable, on-trend vintage look. If you want to create a crackle finish for a door, a piece of furniture or another item, there are products on the market that will allow you to achieve it with relative ease—provided you follow appropriate instructions.
The crackle medium you use will have specific instructions, but here is a general step-by-step for you to follow.
Supplies Needed:
Base Coat (flat sheen)
Top Coat (flat sheen)
Primer
Crackle Medium
Clear Sealer
Sandpaper
Applicators (Paintbrush, Paint Roller or Foam Roller)
Masking Products
Instructions
- Choose your project. Some of the best candidates for a crackle finish are doors, vintage furniture pieces, wainscoting or accessories like vases or lamps. Doing a crackle finish on an entire wall is more difficult because of the large space involved. Before doing a big project like that, it’s best for you to start with something smaller, or practice on a sample board to hone your technique.
- Select paint in colors that will contrast well with one another. Usually, a dark or bright color works best for the base, while a white or light color is best for the topcoat. But it’s your project, your artistic vision—so use whatever colors you think will look good together.
- Prep the surface by cleaning it well and allowing it to dry. In some instances—i.e., when repurposing a piece of furniture—you may need to sand and prime the surface first. Let the primed surface dry thoroughly before applying the base coat.
- Mask off areas that you do not wish to paint. Apply your base coat, using a flat latex paint. This is the coating that will show through the crackled surface. Remove tape. Allow it to dry overnight.
- Reapply masking/painter’s tape as needed. Roll or brush on the crackle finish. You can control the crackling effect by how thick you make your crack layers. The thicker you use it, the bigger the cracks will be. Allow the crackle medium to dry per the manufacturer’s instructions. Remove tape. Some finishers use white school glue to achieve a crackle effect, applying the topcoat while the glue is tacky but still wet. If using glue, you may want to experiment on sample boards before trying the effect on your actual project.
- Reapply tape as needed. Apply the top coat, using a flat sheen to achieve the desired crackle effect. Work quickly and don’t go over the parts of the surface you’ve already top-coated or you risk damaging the crackle effect. The crackle effect will become apparent right away. Remove tape and let the surface dry for at least two hours.
- If you want more of the base coat to show through, lightly sand the edges.
- Seal the finish with a clear coat.